How to Connect Printer to ASUS Printer Server
Introduction
In today's digital age, having a printer that can be shared across multiple devices is a common requirement for home and office environments. ASUS routers have made it easy to set up a print server, allowing you to connect a USB printer to your wireless router and share it with other devices on your network. In this article, we will guide you on how to connect printer to ASUS printer server and get your printer up and running in no time.
Setup Requirements
- Please connect your USB printer to ASUS router using a wired or WiFi connection.
- Ensure your computer is connected to the same router using a wired or WiFi connection.
Step 1: Add a Printer and Scanner in Windows
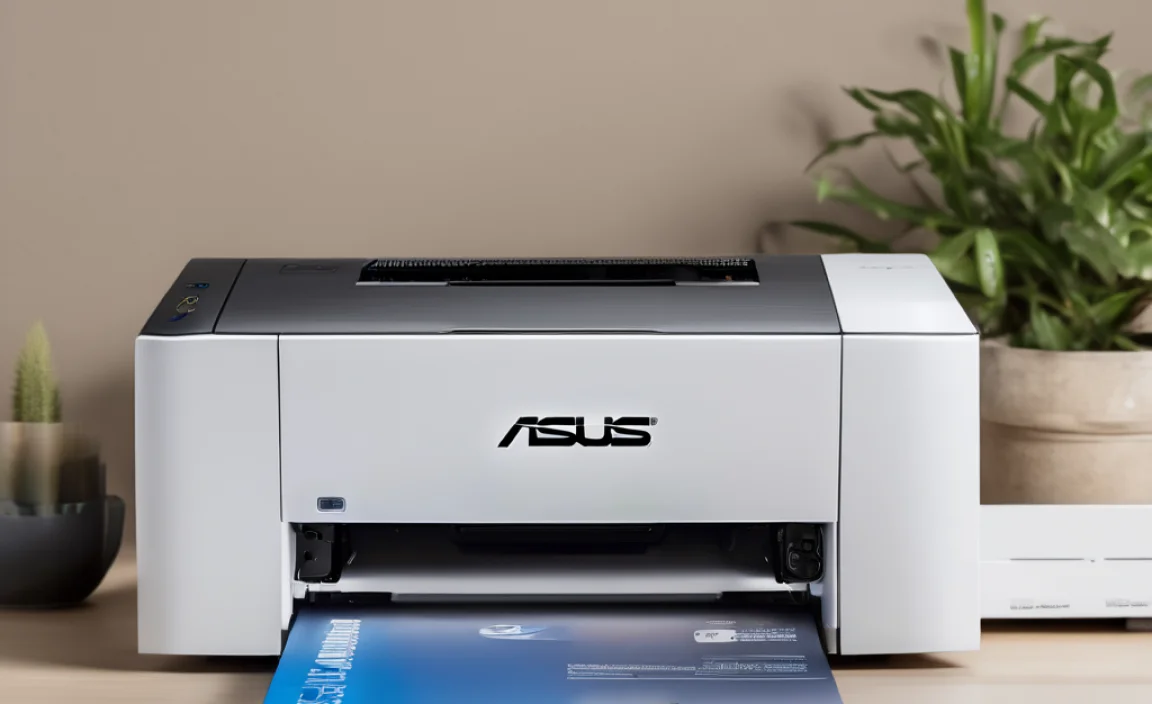
This particular example perfectly highlights why How To Connect Printer To Asus Printer Server is so captivating.
Now that your printer is connected to your ASUS router, you need to add the printer and scanner in Windows.
- Type and search [Printers and scanners] in the Windows search bar, click [Open].
- Next to Add a printer and scanner, click [Add device].
Connecting via USB Port
Connecting a USB printer to a router allows you to set up the print server. Here's how to do it:
- Connect your printer to the USB port on your ASUS router.
- Power on the printer and make sure it is connected to the router.
- Download the ASUS EZ Print Server Utility from the ASUS website and install it on your computer.
- Follow the instructions to configure the print server settings.

Wireless Setup Wizard
Before you can print wirelessly, you need to set up the Wireless Setup Wizard:
Setup ASUS EZ Print Sharing Utility
- Download the ASUS EZ Print Sharing Utility from the ASUS website.
- Install and launch the utility on your computer.
- Follow the instructions to configure the print server settings.
Sharing Printer with ASUS Wireless Router
Now that you have set up the print server, you can share your printer with other devices on your network:
- Connect your computer or mobile device to your network.
- Open the Add a Printer and Scanner window and select your printer.
- Follow the instructions to connect to the printer and start printing wirelessly.
Conclusion
Connecting a printer to a print server is a straightforward process, and with ASUS routers, it's easier than ever to share your printer with multiple devices. By following the steps outlined in this article, you can set up your ASUS printer server and enjoy the benefits of wireless printing. Remember to always refer to your router's manual and software documentation for specific instructions and troubleshooting tips.

 - HP")


![[Wireless Router] How to set up a network printer using LPR/LPD ... - ASUS - How To Connect Printer To Asus Printer Server](https://i.ytimg.com/vi/neFK-I_G90w/maxresdefault.jpg "[Wireless Router] How to set up a network printer using LPR/LPD ... - ASUS")
