Setting up Alexa with Smart Board: A Step-by-Step Guide
In today's world of smart home automation, setting up your Echo device with a smart board can be a key to unlocking a seamless and efficient home experience. Amazon's popular voice assistant, Alexa, offers an effortless way to control and manage your smart devices with just a few voice commands. In this comprehensive guide, we will walk you through the simple steps to set up Alexa with your smart board, helping you create a personalized and automated home space.
What You'll Need
- Amazon Echo device
- Smart board or ESP board
- Amazon Alexa app
- Smart devices (lights, thermostats, security cameras, etc.)
- Wi-Fi network
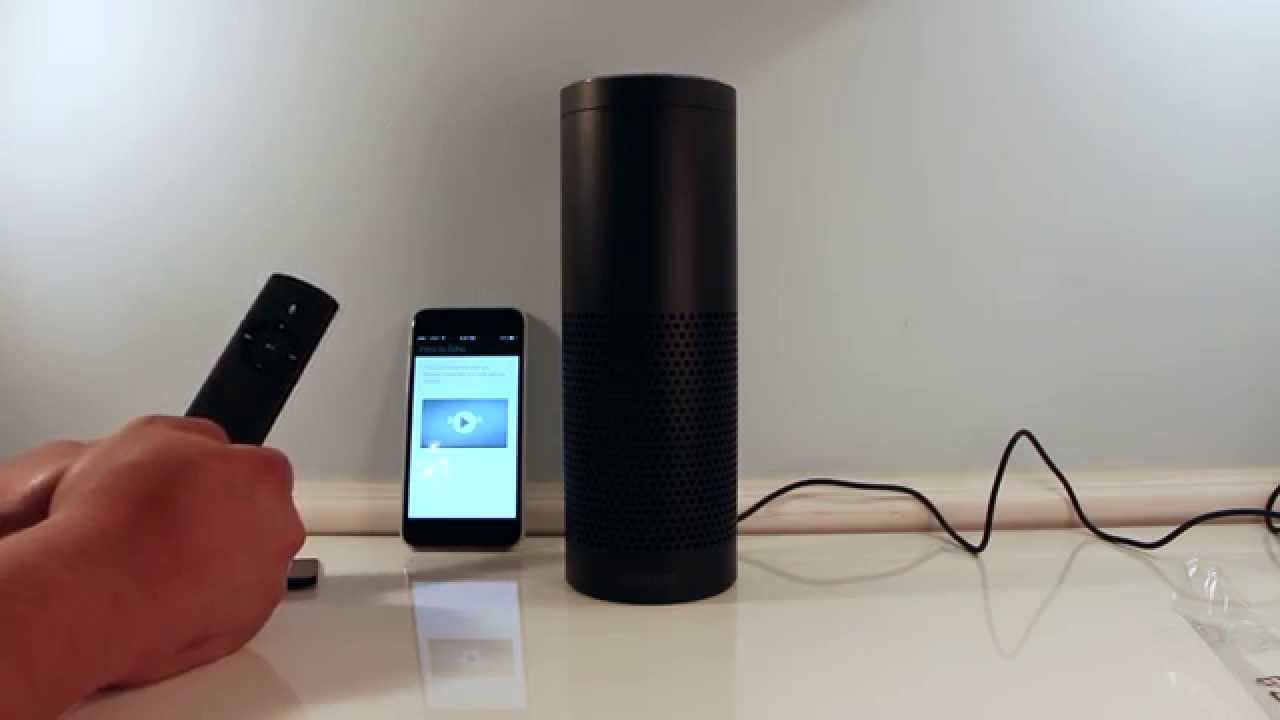
Begin by ensuring your smart board or ESP board is properly set up and connected to your Wi-Fi network. This will require syncing the board with your mobile device and entering the necessary network credentials. If you're new to working with ESP boards, Espressif's official documentation provides a wealth of information to get you started.
:max_bytes(150000):strip_icc()/NEW2-f6ddfa16d34f497ab870419a930c7a0c.jpg)
Step 2: Set Up Your Alexa Device
Next, move on to setting up your Amazon Echo device. Begin by plugging in the device and waiting for it to power on. Then, download and install the Alexa app on your mobile device, available for both iOS and Android devices. Use the app to connect your Echo device to your Wi-Fi network and complete any necessary setup prompts.
Step 3: Connect Your Smart Board to Alexa
Once your Echo device is set up and connected to your Wi-Fi network, it's time to integrate your smart board with Alexa. Open the Alexa app and navigate to the devices menu, selecting the "Smart home" option and creating a new device. Follow the in-app prompts to connect your smart board to Alexa, which may involve pairing devices, setting upIFTTT (If This Then That) integrations, or completing other configuration tasks.
Step 4: Configure Smart Home Devices
With your smart board connected to Alexa, it's time to configure your smart home devices for seamless integration. This may involve setting up individual device accounts in the Alexa app or manually connecting devices through the smart board's configuration menu.
Step 5: Optimize Settings and Utilize Voice Control
Once your smart board and smart devices are connected to Alexa, it's time to fine-tune the experience and optimize settings. Adjust device brightness, temperature settings, or custom voice commands to create a personalized and efficient home automation experience. Remember, the more devices you connect, the more features and capabilities you'll unlock.
Conclusion
Setting up Alexa with your smart board is a straightforward process that requires patience, dedication, and some basic technical knowledge. By following these easy-to-follow steps, you'll transform your living space into a cutting-edge, voice-activated haven. As you experiment with different smart devices and features, you'll unlock a world of possibilities and discover a more streamlined, automated home experience.
Additional Tips
- Explore the IFTTT (If This Then That) platform for advanced integrations and customized automations.
- Create routines and schedules to fine-tune device behavior and make the most of your smart home setup.
- Monitor and track energy consumption and other smart home metrics using integrated analytics tools.
- Update your devices regularly to ensure seamless compatibility and compatibility with the latest platform updates.


