G Wi-Fi Network Rescan: A Comprehensive Guide
Are you tired of dealing with unreliable Wi-Fi connections or struggling to find available networks in your area? Well, you're in luck! In this article, we'll walk you through the process of performing a G Wi-Fi network rescan on your Windows 11 device. This handy tool is a game-changer for anyone who relies on Wi-Fi for work, entertainment, or communication.
Why is a Wi-Fi Network Rescan Necessary?
A Wi-Fi network rescan is essential when your device is unable to find all available networks in your area. This can happen due to various reasons such as network interference, misplaced or misplaced network identifiers (SSID), or changes in your network configuration. By rescaning your Wi-Fi network, you can refresh the list of available networks and increase your chances of finding a stable connection.
Method 1: Quick Settings Menu
To perform a Wi-Fi network rescan using the Quick Settings menu, follow these steps:
- Click on the Wi-Fi, volume, and battery icons present on the right side of the taskbar to open the Quick Settings flyout.
- Click on the right arrow (>) icon next to the Wi-Fi button to see the available networks.
Method 2: Command Line using Windows Terminal
Alternatively, you can use the Windows Terminal to perform a Wi-Fi network rescan using the following command:

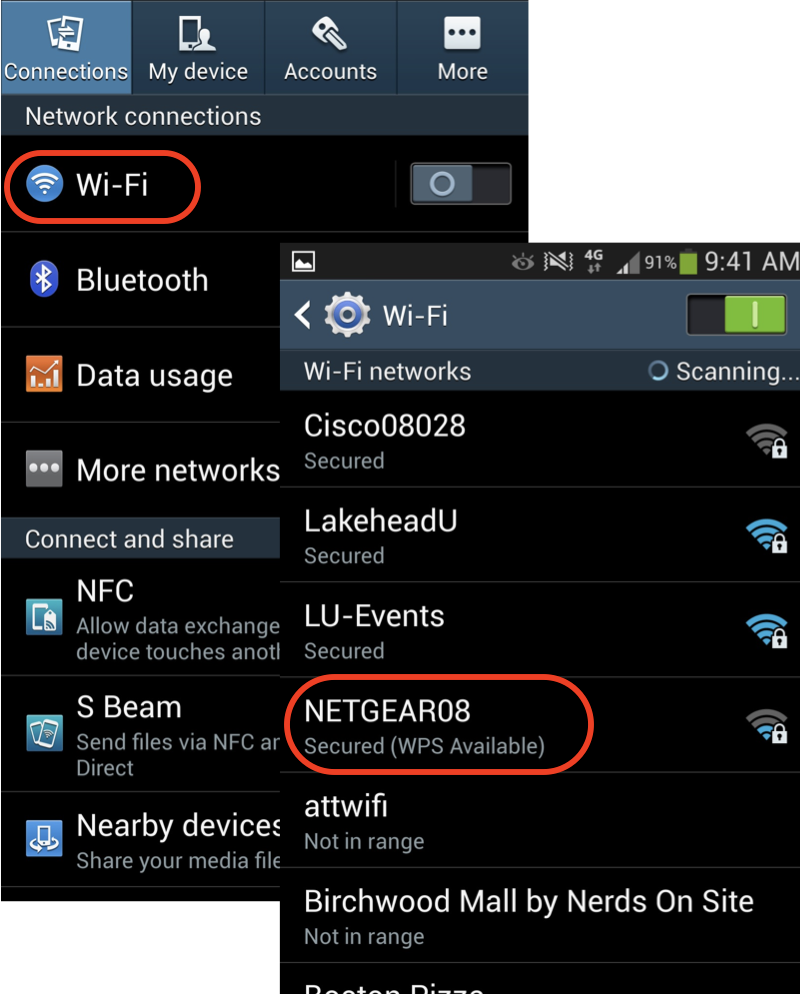
Furthermore, visual representations like the one above help us fully grasp the concept of G Wi-Fi Network Rescan.
explorer.exe ms-availablenetworks: sleep 10
And in command line without sleep: nmcli devicewifirescan
This command is the equivalent of manually opening the network icon in the lower right of the toolbar, and it's a great alternative when you need to force a rescan without reopening the UI or reenabling the adapter.
Method 3: Using the Wi-Fi Quick Settings Flyout in Windows 11 Build 26002
With the latest update to Windows 11 build 26002, you now have the option to add a refresh button to the Wi-Fi Quick Settings flyout. This convenient feature allows you to perform a Wi-Fi network rescan without leaving the Quick Settings flyout.
Method 4: Using the Wi-Fi Refresh Button
The Wi-Fi Refresh button is a handy tool that allows you to force a rescan of available Wi-Fi networks without leaving the Quick Settings flyout. This feature is especially useful in today's fast-paced world, where staying connected is crucial.
Before you proceed with a Wi-Fi network rescan, make sure to try the following troubleshooting tips:
- Restart your device and try connecting to the network again.
- Check your network configuration and ensure that the SSID is correct.
- Move closer to the router to ensure a stronger signal.
Conclusion
Performing a G Wi-Fi network rescan is a straightforward process that can help you resolve connectivity issues and find available networks in your area. By following the methods outlined in this article, you can troubleshoot your Wi-Fi connection and get back to work or entertainment in no time. Remember to try the troubleshooting tips first, and if the issue persists, proceed with the Wi-Fi network rescan.
Additional Resources
If you're still experiencing issues with your Wi-Fi connection, you may want to explore additional resources, such as:
- Wi-Fi Scanner: a tool that allows you to easily locate visible wireless networks and their corresponding information.
- nmcli devicewifilist: a command that lists wireless networks and their properties.
By combining these resources with the methods outlined in this article, you'll be well on your way to resolving any Wi-Fi connectivity issues and enjoying a stable connection.


 wireless networks from command line?")


