Ceiling Fan Installation Motorized: A Comprehensive Guide
Installing a ceiling fan motorized is a great way to upgrade your home's look, improve air circulation, and lower your energy bill. However, it's essential to follow the correct installation procedures to ensure safety and optimal performance. In this article, we'll walk you through the step-by-step process of installing a ceiling fan motorized, highlighting key considerations and expert tips along the way.
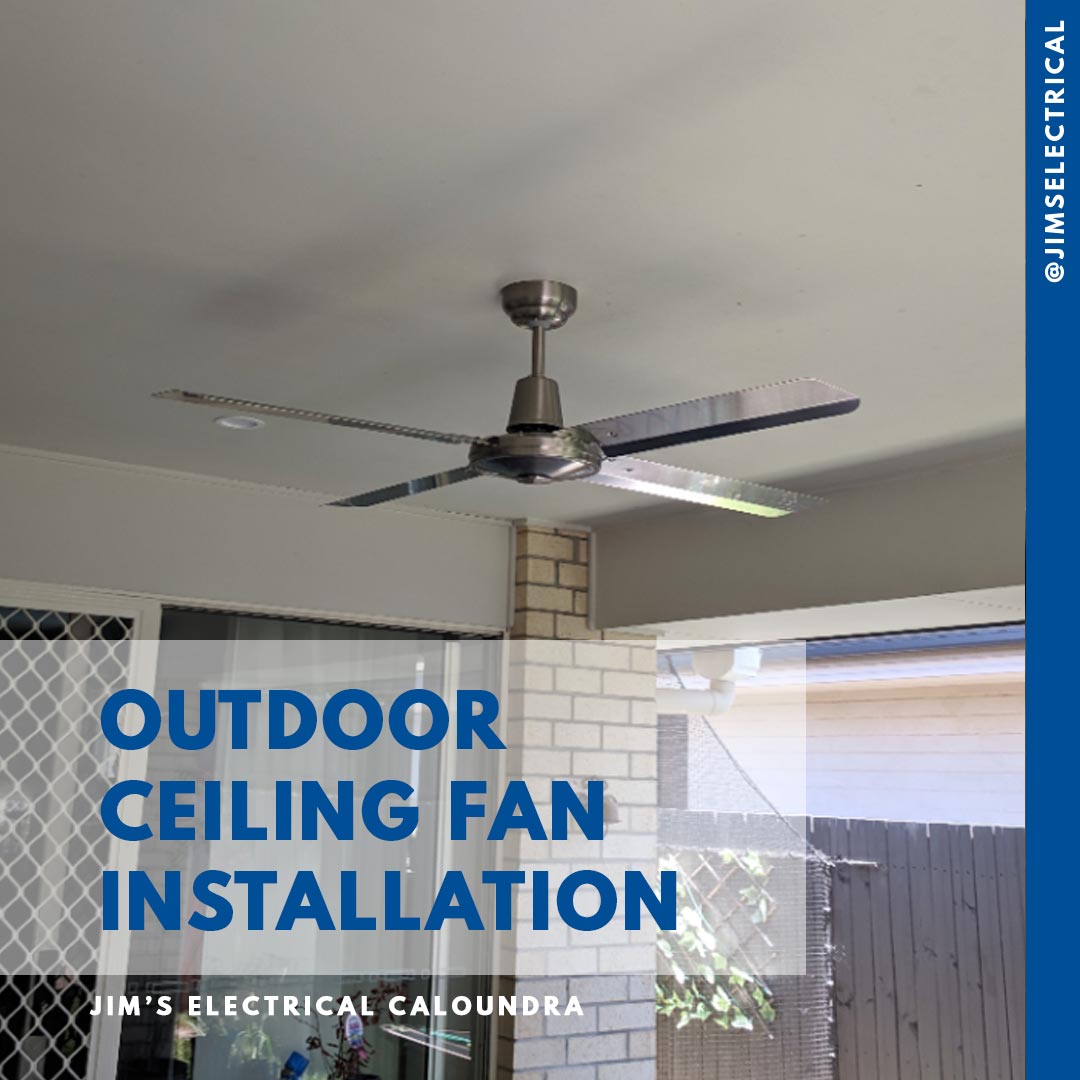
Understanding Ceiling Fan Components
Before starting the installation process, it's crucial to familiarize yourself with the main parts of a ceiling fan motorized:
- Motor housing: Contains the fan motor that drives the blades.
- Blades: Create airflow; number and size affect efficiency.
- Mounting bracket: Secures the fan to the ceiling box.
- Downrod: Connects the motor to the ceiling; length varies with ceiling height.
- Canopy: Covers the electrical connections.
Electrical considerations form the foundation of any successful ceiling fan installation motorized. Most ceiling fans require a dedicated electrical circuit capable of handling both the motor and lighting, if applicable. Consult a licensed electrician if you're unsure about your home's electrical system or wiring requirements.
Tools and Materials Needed
To install a ceiling fan motorized, you'll need the following tools and materials:

- Mounting bracket
- Downrod
- Canopy
- Electrical connectors
- Wire nuts or connectors
- Phillips screwdriver
- Level
- Tape measure
Step-by-Step Installation Guide
Follow these steps to install a ceiling fan motorized:
Step 1: Prepare the Ceiling Box
Locate the ceiling box and ensure it's securely fastened to the ceiling. Remove any existing lighting fixtures or fans.
Step 2: Install the Mounting Bracket
Attach the mounting bracket to the ceiling box using the provided screws. Ensure the bracket is level and secure.

Step 3: Install the Downrod
Connect the downrod to the motor housing, following the manufacturer's instructions. Secure the downrod to the ceiling box using the provided screws.
Step 4: Install the Canopy
Attach the canopy to the electrical connections, ensuring they're secure and watertight.
Step 5: Connect the Wires
Connect the electrical wires to the ceiling box, following the manufacturer's instructions. Ensure all connections are secure and watertight.
Step 6: Install the Fan Blades
Attach the fan blades to the motor housing, following the manufacturer's instructions.
Motorized Ceiling Fan Installation Tips
Here are some expert tips for installing a motorized ceiling fan:
- Always follow the manufacturer's instructions.
- Consult a licensed electrician if you're unsure about electrical considerations or wiring requirements.
- Use a level to ensure the fan is properly aligned.
- Use wire nuts or connectors to secure electrical connections.
- Test the fan before final installation to ensure it's working correctly.
Conclusion
Installing a ceiling fan motorized can be a straightforward DIY project if you follow the correct procedures and take necessary safety precautions. Remember to consult a licensed electrician if you're unsure about electrical considerations or wiring requirements. With the right tools and materials, you'll be able to enhance your home's look, improve air circulation, and lower your energy bill with a newly installed ceiling fan motorized.


")


 | Family Handyman")

