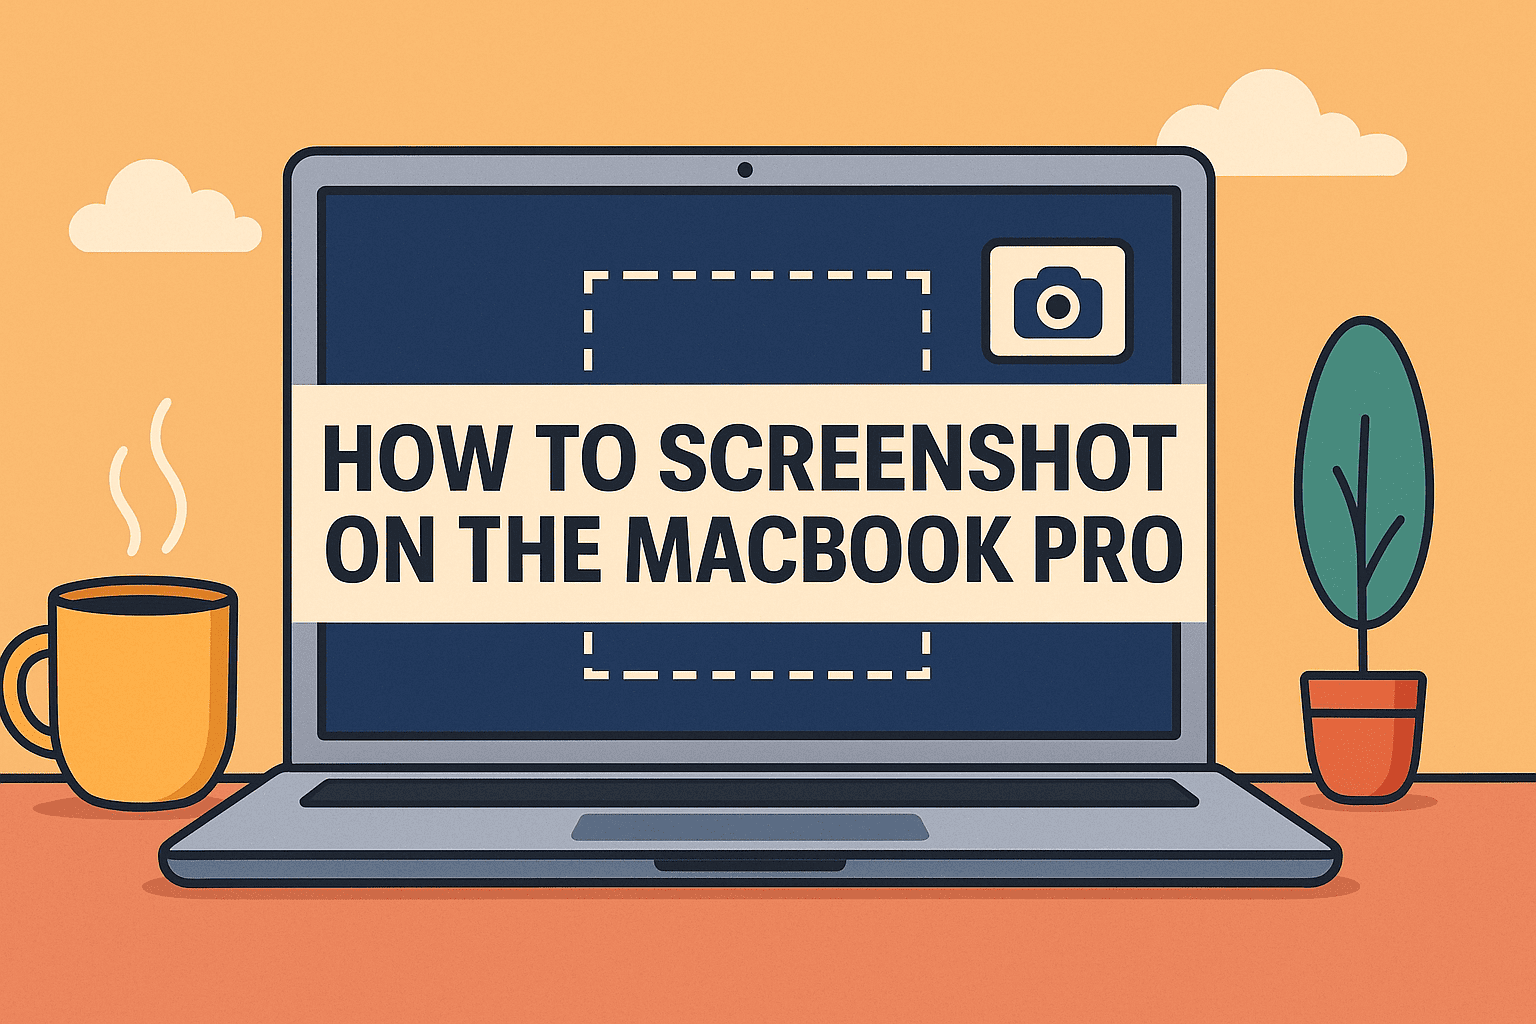
Mastering the MacBook Screenshot Key: A Comprehensive Guide
Are you tired of struggling with taking screenshots on your MacBook? Do you wish there was an easier way to capture the perfect image of your screen? Look no further! In this article, we'll explore the various methods of taking screenshots on a MacBook, including the essential MacBook screenshot key and other handy keyboard shortcuts.
Why Take Screenshots on Your MacBook?
Taking screenshots on your MacBook is a valuable skill that can be used in a variety of situations. Whether you're a student, a professional, or a casual user, screenshots can help you to:
- Document important information or processes
- Share knowledge or tutorials with others
- Capture and share ideas or inspiration
- Create and sell products, such as printables or graphics
The MacBook Screenshot Key: Command + Shift + 3
The most basic and widely used method of taking a screenshot on a MacBook is by using the Command + Shift + 3 key combination. This will capture the entire screen, including the Dock, top menu bar, and everything else. The resulting screenshot will be saved as an image file on your desktop, named "Screenshot [date] at [time].png."
Here's a step-by-step guide to taking a screenshot using the Command + Shift + 3 key combination:

- Make sure your screen is set to the resolution you want to capture.
- Press the Command + Shift + 3 keys simultaneously.
- The screen will flash, and your screenshot will be saved to your desktop as an image file.
Other Essential MacBook Screenshot Keyboard Shortcuts
Alongside the Command + Shift + 3 key combination, there are several other essential keyboard shortcuts to know when taking screenshots on your MacBook:
- Command + Shift + 4: This will capture a selected area of the screen, rather than the entire screen.
- Command + Shift + 4, then press the spacebar: This will allow you to capture a window or menu instead of a selected area.
- Command + Shift + 4, then drag and drop the capture area: This will allow you to capture a rectangle of the screen, including specific windows or menus.
Using the Screenshot App
If you want more advanced features and options for taking screenshots on your MacBook, consider using the Screenshot app. This app provides a panel of tools that let you easily take screenshots and screen recordings, with options to control what you capture, such as:
- Setting a timer delay
- Including the pointer or clicks
Editing and Sharing Your Screenshots
Once you've taken your screenshot, there are several ways to edit and share it:
- Right-click (or control-click) on the screenshot and select "Open with" to edit it in an image editor.
- Drag and drop the screenshot into an email or message to share it with others.
- Save the screenshot to your computer and upload it to a cloud storage service, such as Dropbox or Google Drive.
Conclusion
Mastering the MacBook screenshot key and other essential keyboard shortcuts is a valuable skill that can save you time and frustration in the long run. By following the steps outlined in this article, you'll be able to take high-quality screenshots on your MacBook, edit and share them with ease, and capture the perfect image of your screen every time.
For more in-depth guides and tutorials on taking screenshots on your MacBook, check out the following resources:
- Apple Support: Taking a Screenshot on Your Mac
- Macworld: How to Take a Screenshot on a Mac
- Apple Tutorials: Screenshotting on Mac


")


 | Beebom")


 - iGeeksBlog")

")


")


 - MacHow2")
