Ceiling Fan Installation: A Comprehensive Guide for Homeowners
Installing a ceiling fan can be a great way to improve the comfort and style of your home. Not only can it help to circulate air and reduce energy costs, but it can also be a stylish addition to any room. However, installing a ceiling fan can seem like a daunting task, especially if you're not familiar with DIY projects. In this article, we'll provide a step-by-step guide on how to install a ceiling fan, as well as some tips and tricks to ensure a safe and successful installation.
Why Install a Ceiling Fan?
There are many reasons why installing a ceiling fan is a great idea. Not only can it help to circulate air and reduce energy costs, but it can also be a stylish addition to any room. According to the U.S. Department of Energy, installing a ceiling fan can reduce your cooling costs by 4-8% while using just one cent per hour to operate, compared to 36 cents per hour for air conditioning.
The Benefits of Ceiling Fan Installation
- Improved Air Circulation: Distributes air evenly throughout the room.
- Reduced Energy Costs: Can help to reduce cooling costs by 4-8%.
- Increased Comfort: Can help to circulate air and reduce drafts.
- Added Style: Can be a stylish addition to any room.
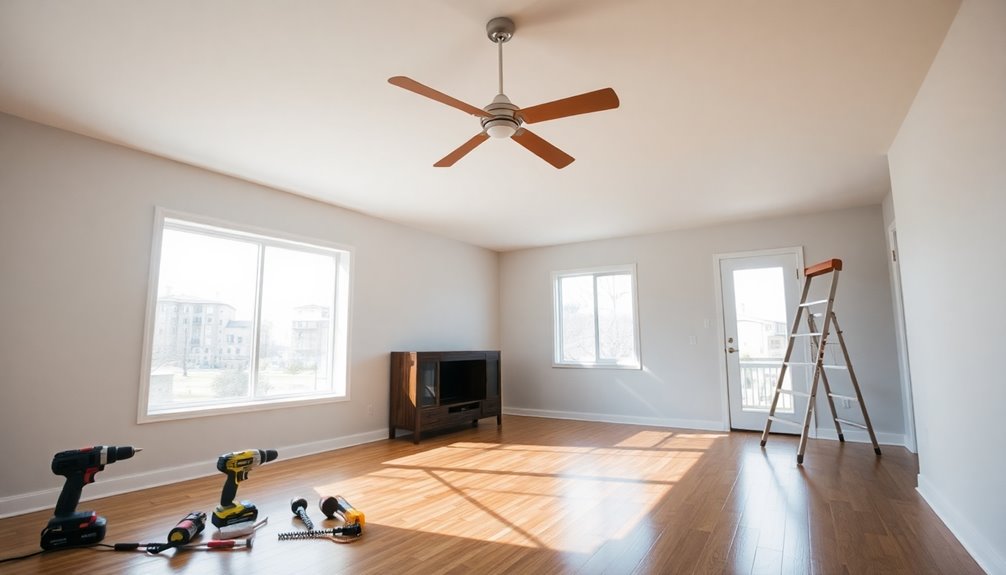
Preparation is Key
Before you start installing your ceiling fan, there are a few things you'll need to do to prepare. First, make sure you have a clear understanding of the installation process and any local building codes or regulations that may apply. Next, gather all the necessary tools and materials, including a screwdriver, drill, wire nuts, and a voltage tester.
Step-by-Step Ceiling Fan Installation Guide
Step 1: Remove the Existing Fixture
The first step in installing a ceiling fan is to remove the existing fixture. This will give you access to the wiring and mounting bracket. To do this, you'll need to turn off the power to the circuit at the main electrical panel and remove the light kit or other fixture.
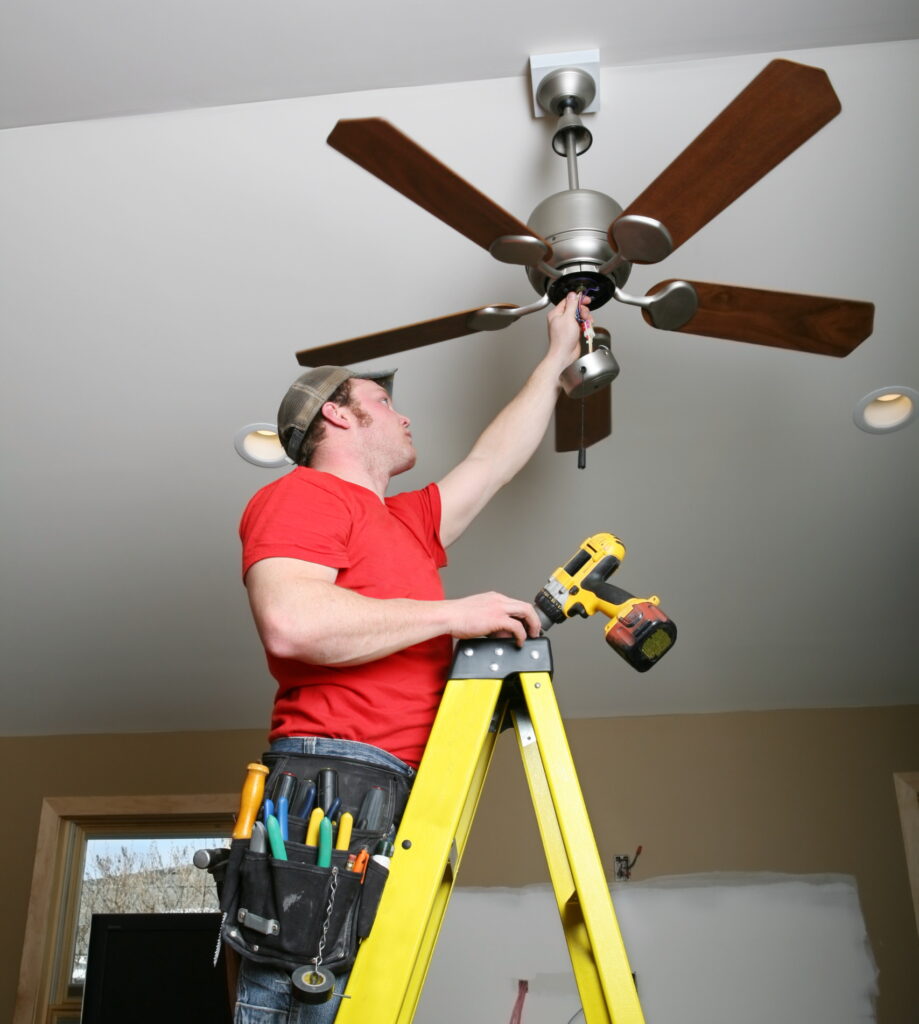
Step 2: Mount the Bracket
Step 3: Attach the Fan
Once the bracket is securely attached to the ceiling, you can attach the fan to the bracket. This will typically involve attaching the fan to the bracket using screws or other fasteners.
Next, you'll need to connect the wiring to the fan. This will typically involve attaching the fan's wires to the wiring in the ceiling. Use wire nuts or other connectors to secure the wires.
Step 5: Test the Fan
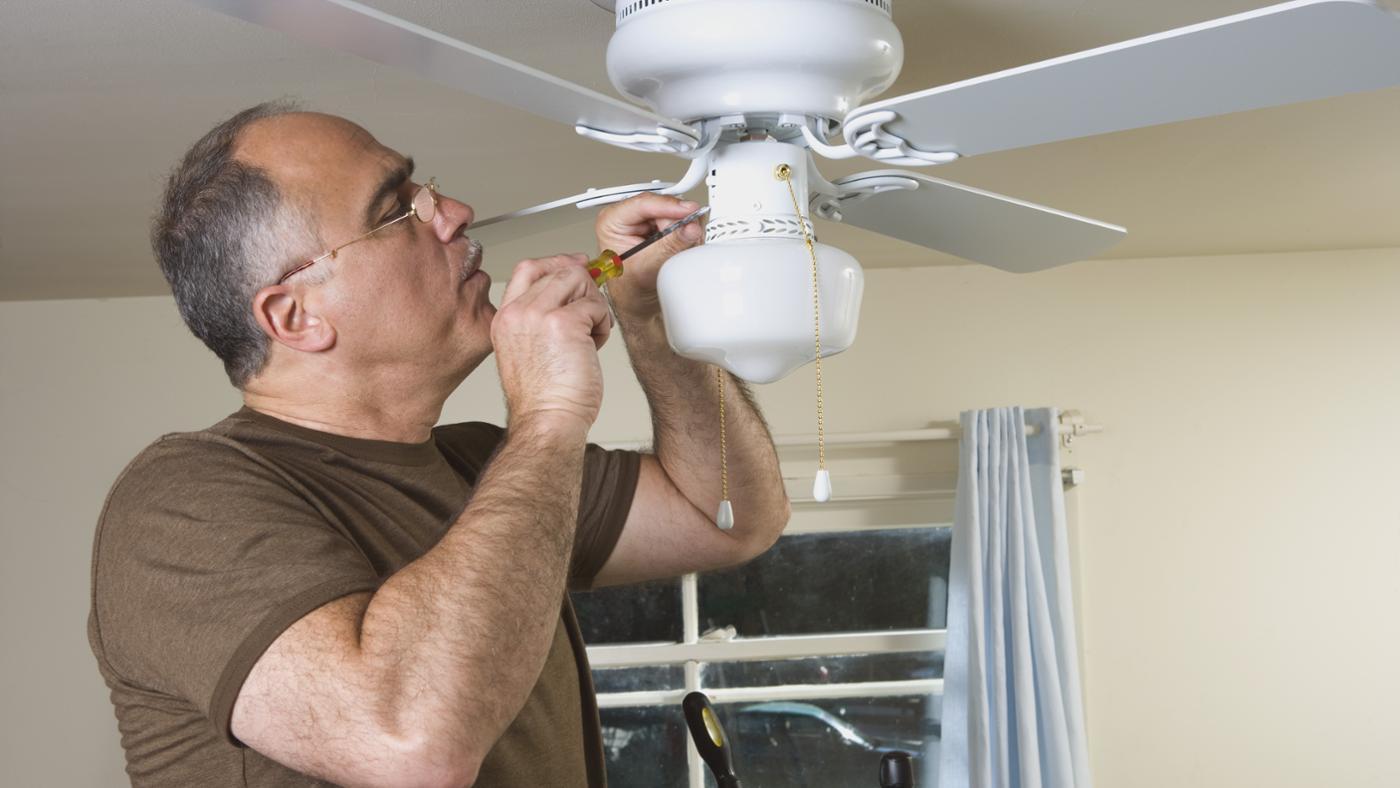
Finally, turn the power back on and test the fan to make sure it's working properly. Use a voltage tester to ensure that the wiring is secure and there are no electrical shocks.
- Make sure to follow all local building codes and regulations.
- Use a ladder or other secure attachment point to reach the ceiling.
- Turn off the power to the circuit at the main electrical panel before starting the installation.
- Use a voltage tester to ensure that the wiring is secure and there are no electrical shocks.
Conclusion
Installing a ceiling fan can be a great way to improve the comfort and style of your home. With the right tools and a little patience, you can install a ceiling fan in no time. Remember to follow all local building codes and regulations, use a ladder or other secure attachment point to reach the ceiling, and turn off the power to the circuit at the main electrical panel before starting the installation. With these tips and tricks, you'll be well on your way to a safe and successful ceiling fan installation.
Where to Find a Ceiling Fan Installation Professional
If you're not comfortable installing a ceiling fan yourself, consider hiring a professional to do the job for you. Here are a few options:
- Whitney Services: Provides expert ceiling fan installation in Athens Township, including installation, wiring, and testing.
- Lowe's: Offers ceiling fan installation services throughout Punta Gorda and surrounding areas, including installation, wiring, and testing.
- Hunter Fans: Provides a comprehensive guide to ceiling fan installation, including step-by-step instructions and videos.


